Shock treatment for well water kills bacteria within 8-24 hours, but most well owners waste their bleach and effort by skipping the math. You need 100 parts per million chlorine concentration to kill bacteria, not the random splash of bleach most people try.
Key Takeaways:
• Well shock chlorination requires 100 ppm chlorine concentration, 1 gallon of 5.25% bleach per 100 feet of 6-inch well casing
• Contact time must reach 8-24 hours depending on contamination severity and water temperature below 77°F
• Retest timing is critical, wait 3-7 days after flushing to avoid false negatives from residual chlorine
When Should You Shock Chlorinate Your Well?
Shock chlorination is emergency bacterial disinfection for your well water system. This means you flood your entire well and distribution system with concentrated chlorine solution to kill vegetative bacteria, then flush it out completely. The process eliminates 99.9% of vegetative bacteria within 8 hours of proper contact time.
You shock chlorinate after a positive coliform test. Period. Not as routine maintenance. Not because your water tastes funny. The treatment targets bacterial contamination specifically, coliform bacteria, E. coli, and other disease-causing microorganisms that multiply in your well.
Immediate response protocol after a positive bacterial test: Stop drinking the water. Boil water for drinking and food prep. Schedule shock chlorination within 24-48 hours. The contamination won’t fix itself, and bacterial populations double every 20 minutes under the right conditions.
Actually, you also shock chlorinate after any contamination event. Surface water entering your well during flooding. New pump installation. Well maintenance work. Any time someone drops equipment into your well. These events introduce bacteria that multiply fast.
How Much Bleach Do You Need for Your Well?
Chlorine dose calculation depends on your well depth and casing volume. You need to calculate the exact volume of water in your well casing, then add enough 5.25% bleach to reach 100 parts per million throughout the system.
A 6-inch well casing holds 1.47 gallons per foot of depth. Standard residential wells need 3-8 gallons of 5.25% bleach depending on depth and diameter. The math matters, too little chlorine won’t kill bacteria, too much wastes money and creates longer flush times.
| Well Depth | Casing Diameter | Casing Volume | Bleach Required (5.25%) |
|---|---|---|---|
| 100 feet | 6 inches | 147 gallons | 1.0 gallon |
| 150 feet | 6 inches | 221 gallons | 1.5 gallons |
| 200 feet | 6 inches | 294 gallons | 2.0 gallons |
| 100 feet | 8 inches | 261 gallons | 1.8 gallons |
| 150 feet | 8 inches | 392 gallons | 2.6 gallons |
The formula: Casing volume in gallons × 0.0068 = gallons of 5.25% bleach needed. Don’t guess. Measure your well casing diameter and know your depth before you start. Your well driller’s report should list both numbers.
One thing I should mention, only use unscented liquid bleach with exactly 5.25% sodium hypochlorite. Concentrated bleach above 6% can corrode well components. Powdered bleach doesn’t dissolve properly. Scented or additive bleaches introduce other contaminants.
Step-by-Step Well Shock Chlorination Procedure
Proper shock chlorination requires specific sequence and timing to reach every part of your water system. Skip steps and you leave bacteria colonies alive in untreated areas.
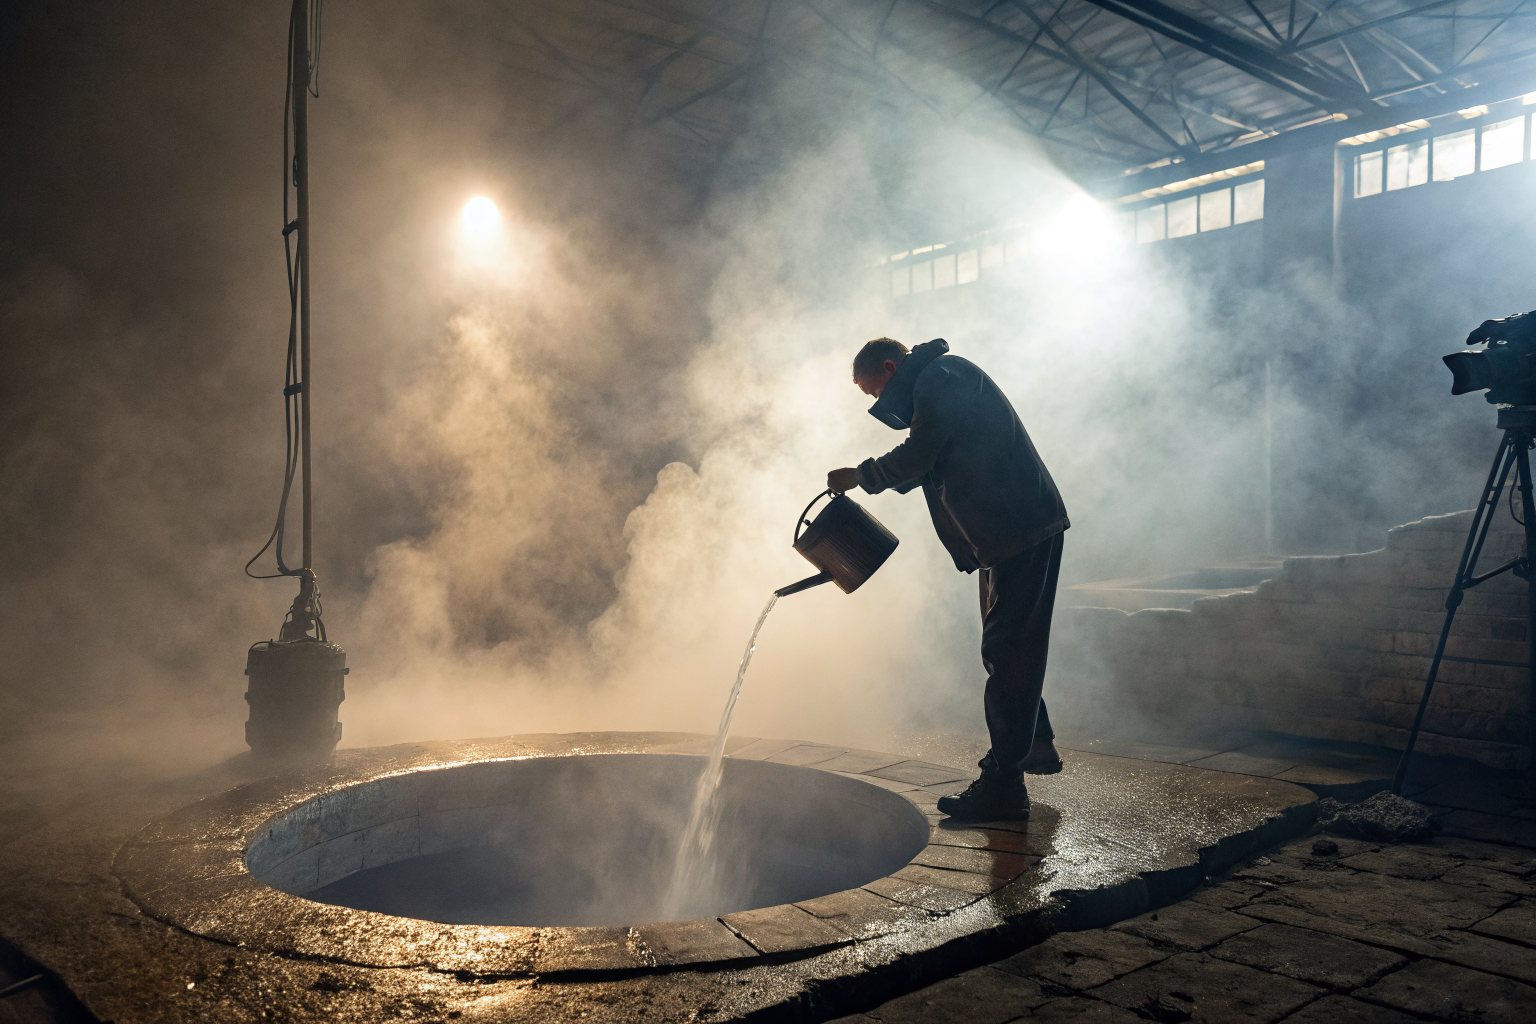
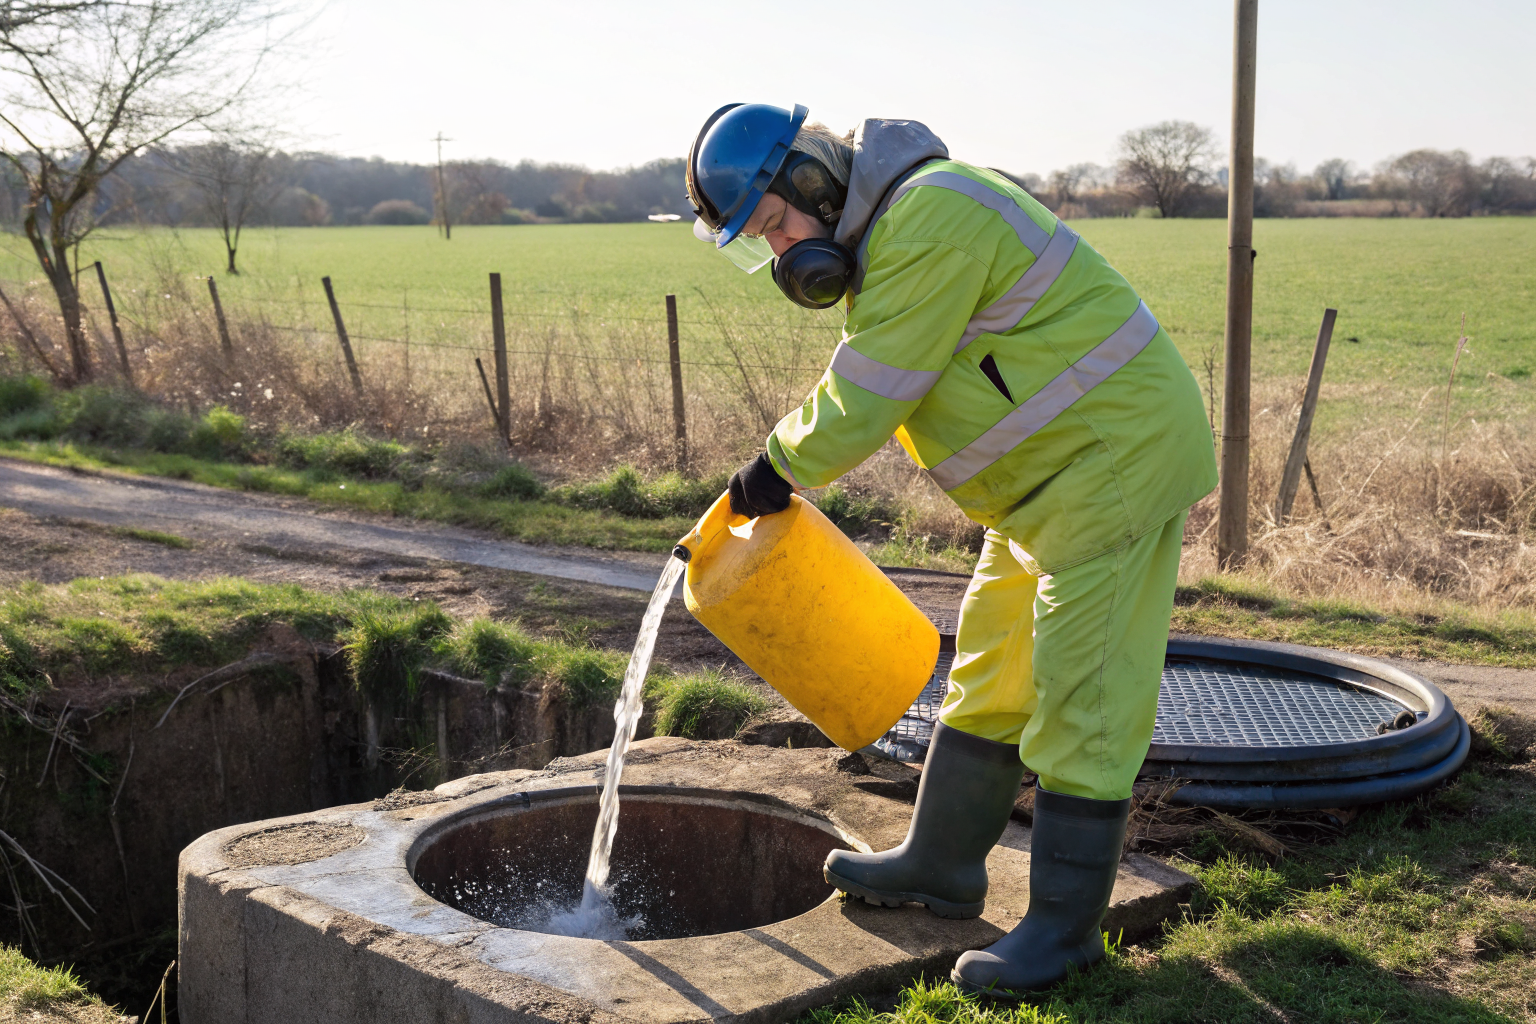
Turn off power to your well pump at the circuit breaker. Remove the well cap carefully to avoid dropping debris into the well.
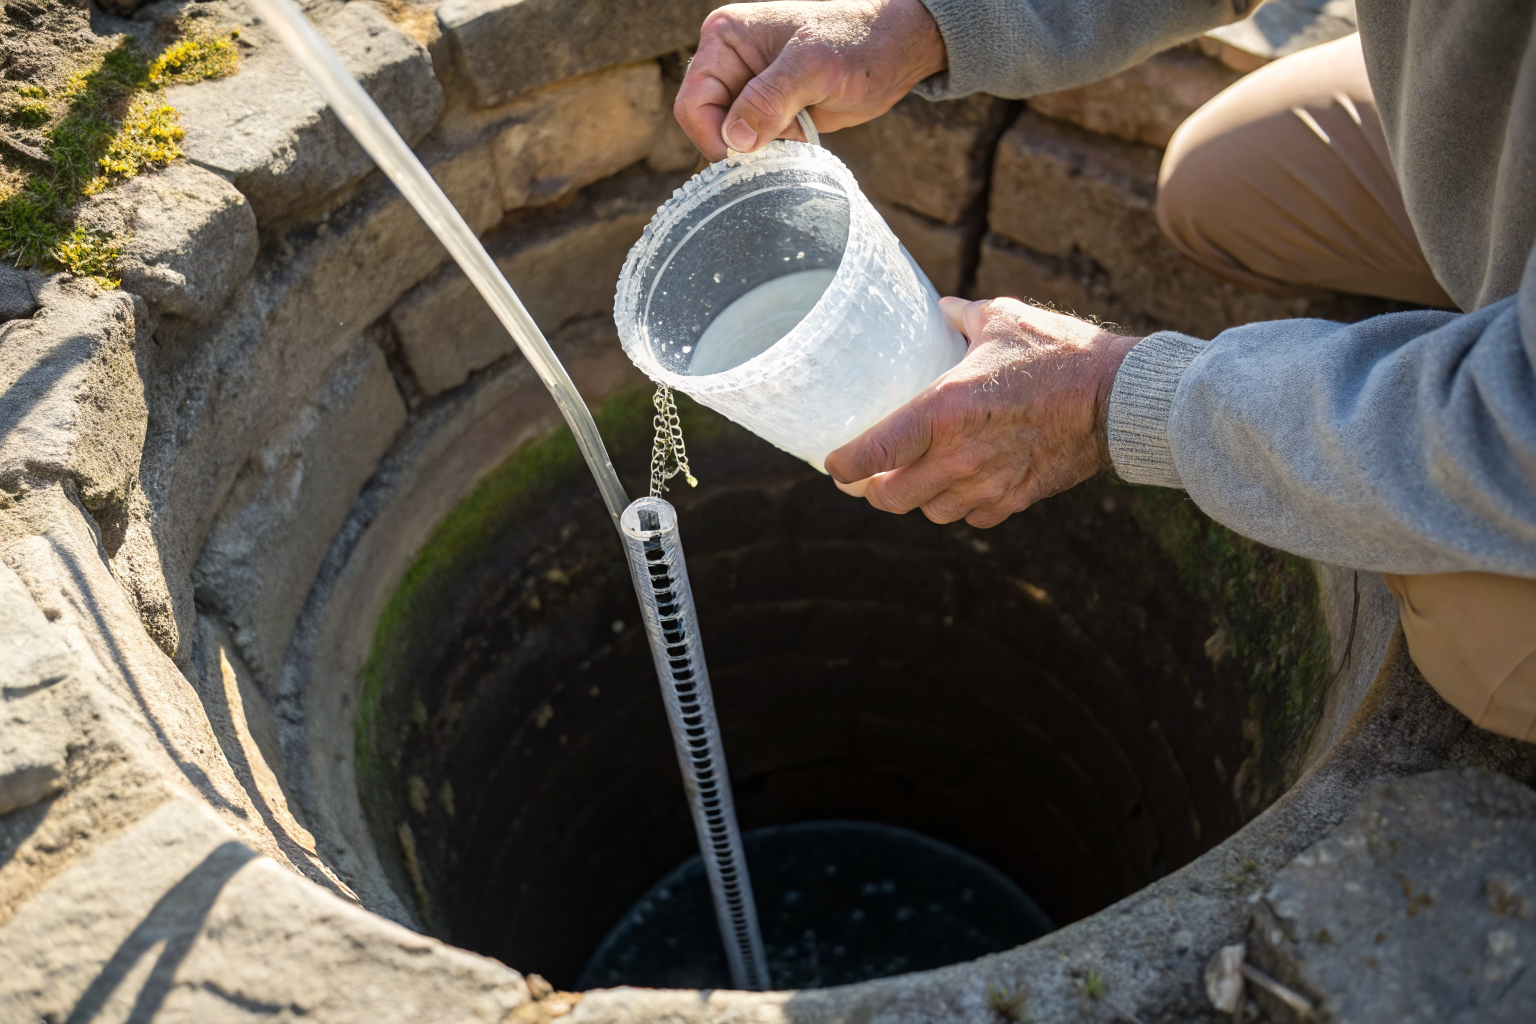
Calculate your chlorine dose using the table above, then mix the bleach with an equal amount of clean water in a separate container.
Pour the diluted bleach solution directly into the well casing through a funnel. Add a garden hose to the well and begin filling with water while recirculating.
Connect a garden hose from a nearby faucet back to the well head to create circulation. Turn on the faucet and let water flow back into the well for 15-20 minutes.
Turn power back on to the pump. Go to the closest fixture and run cold water until you smell strong chlorine. This confirms the treated water reached your pressure tank.
Move through every fixture in your house, hot and cold taps, washing machine, dishwasher, toilets. Run each until strong chlorine odor appears, usually 2-3 minutes per fixture.
Fill your water heater with chlorinated water by running hot water fixtures until chlorine smell appears. This step often takes 10-15 minutes.
Turn off all fixtures and let the chlorinated water sit in your entire system. Contact time starts now.
Circulation requires running water at each fixture for 2-3 minutes until strong chlorine odor appears. If you can’t smell chlorine, the concentration is too low and won’t kill bacteria. Add more bleach and repeat the circulation process.
How Long Should Chlorine Stay in Your Well?
Contact time requirements vary by contamination type and water temperature. The chlorine needs time to penetrate bacterial cell walls and destroy the organisms completely.
Water temperature below 50°F requires 24-hour contact time versus 8 hours at 77°F and above. Cold water slows the chemical reaction between chlorine and bacteria. Most residential wells sit between 50-55°F year-round, so plan for 12-24 hour contact times.
Heavy bacterial contamination needs longer contact time than light contamination. If your coliform count exceeded 200 CFU per 100ml, extend contact time to 24 hours minimum. High bacterial loads require more chlorine exposure to achieve complete kill.
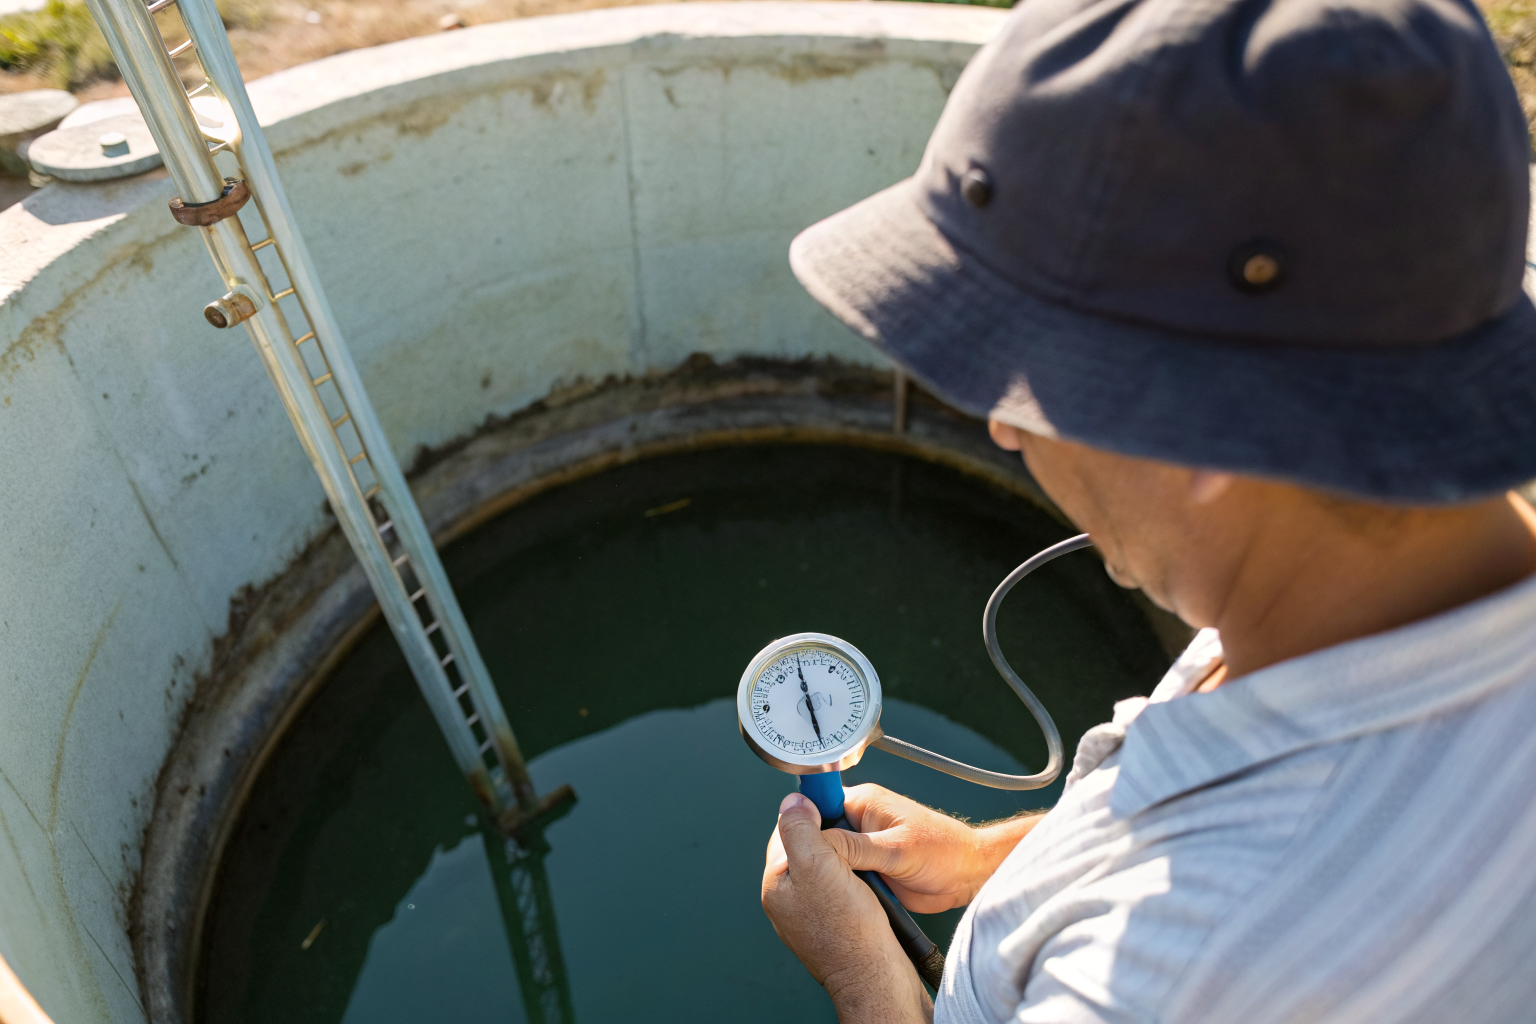
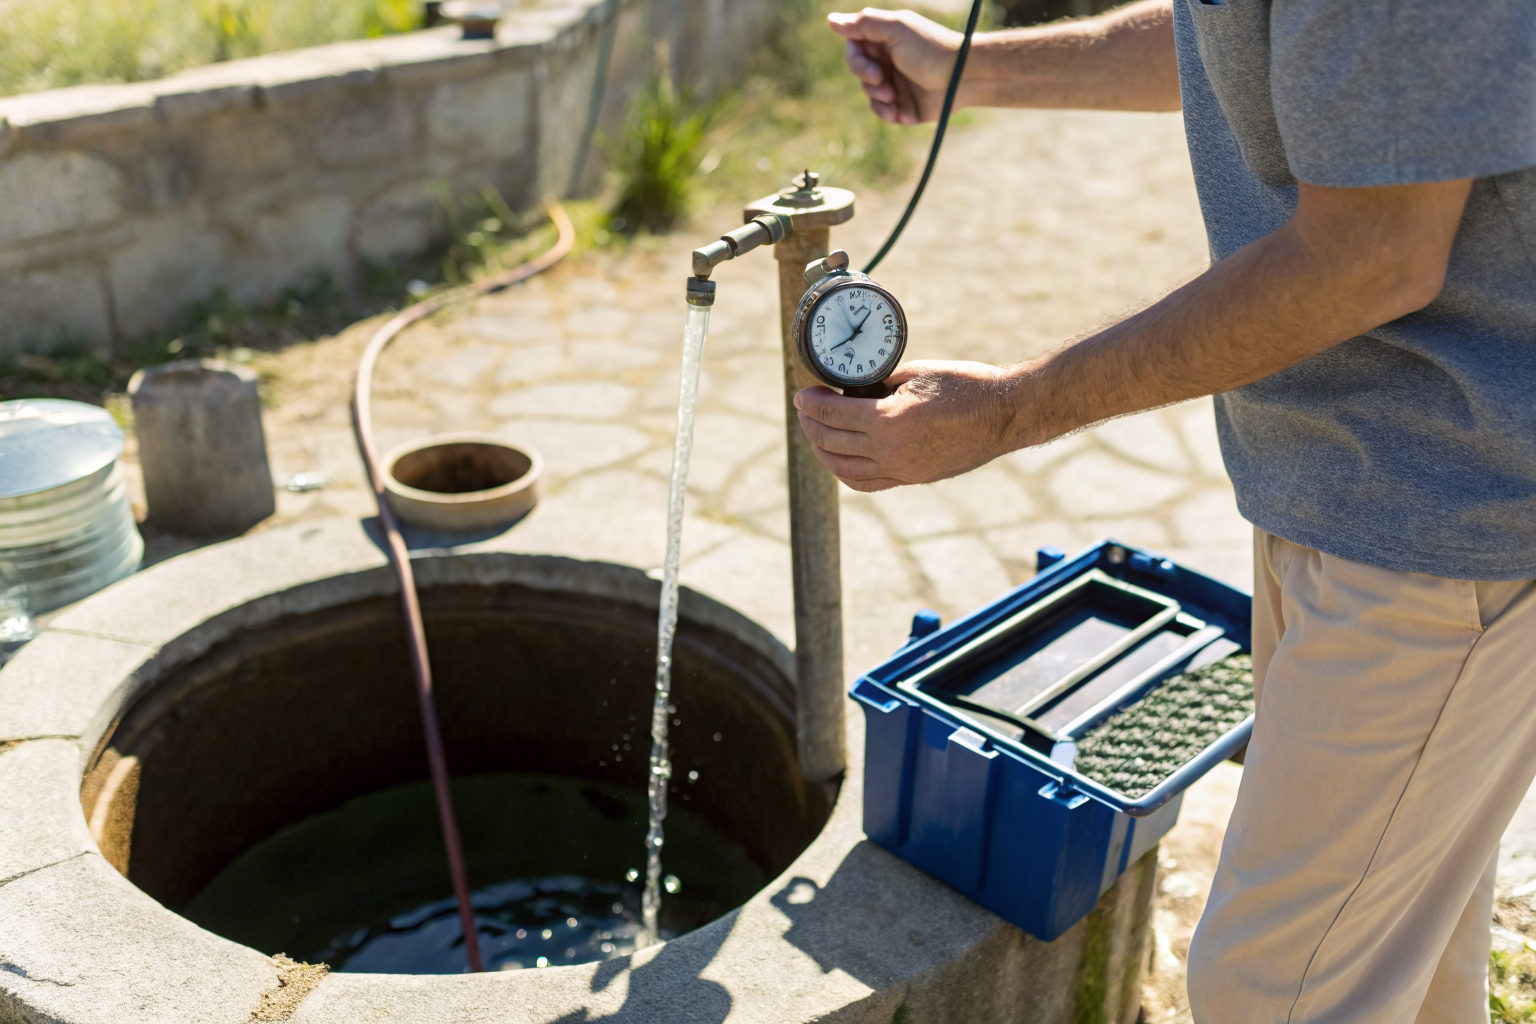
You test for adequate contact by checking chlorine residual after the contact period. Use chlorine test strips at a fixture, you should still detect 10-25 ppm free chlorine after the full contact time. No detectable chlorine means the bacteria consumed it all and you need to repeat the treatment.
How to Flush Chlorine from Your Well System
Flushing procedure removes residual chlorine before retesting to avoid false negative results. Residual chlorine interferes with bacterial culture growth in lab tests.
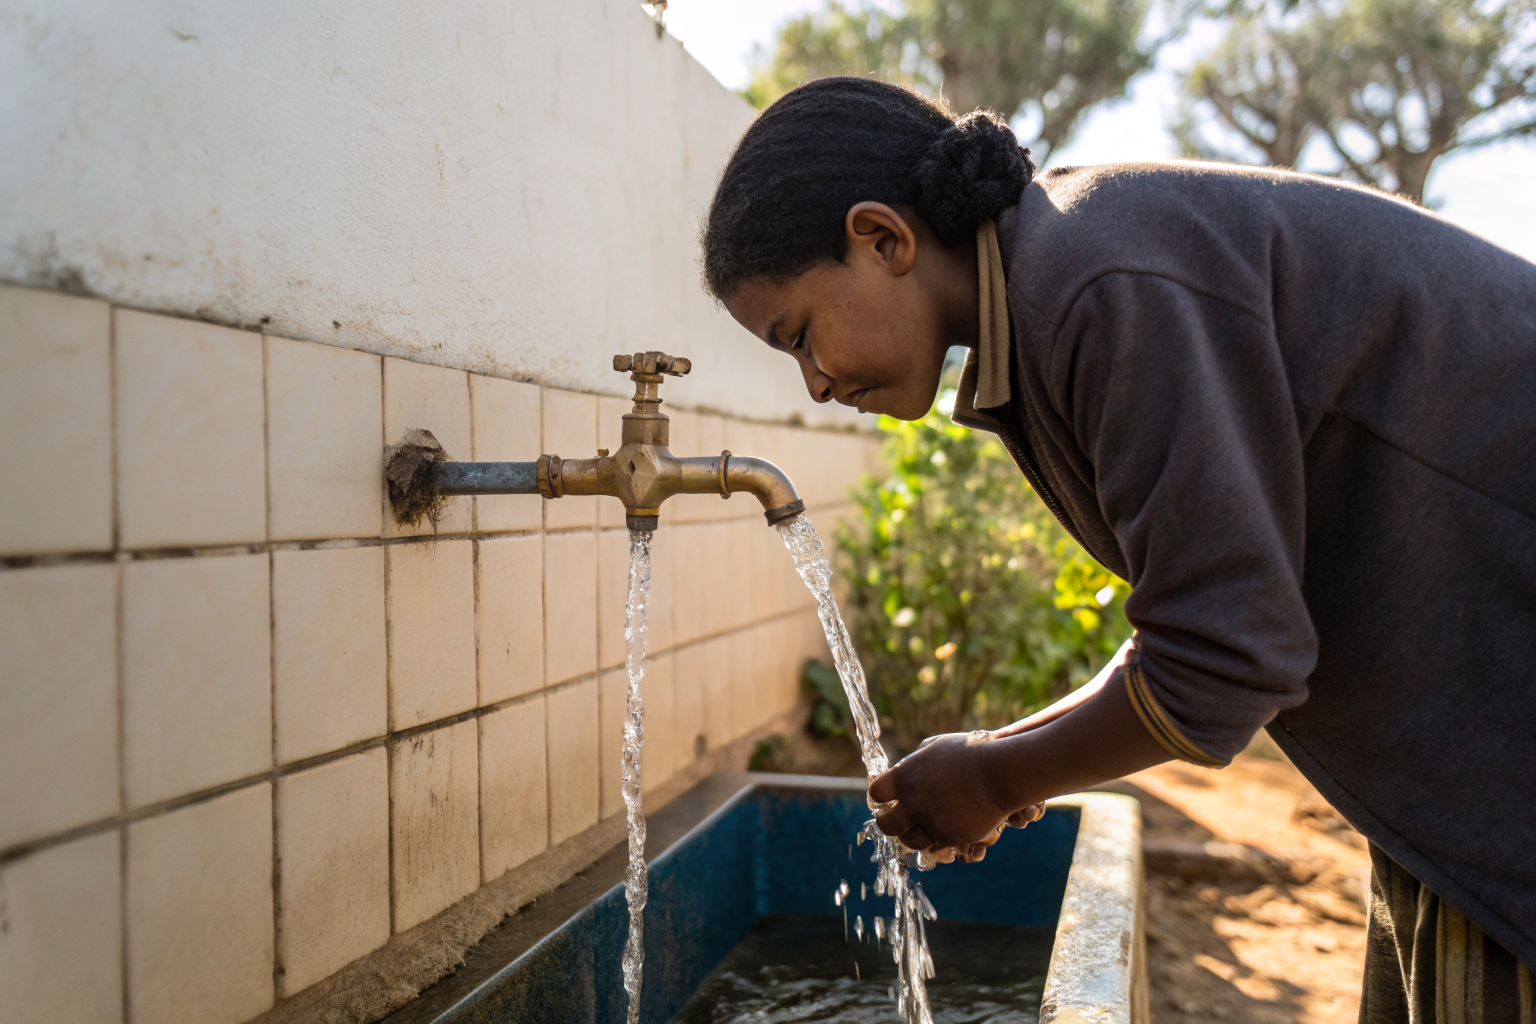
Start at the fixture closest to your pressure tank. Run cold water continuously for 15-30 minutes until chlorine odor completely disappears.
Move to each cold water fixture throughout the house. Run each for 5 minutes until no chlorine smell remains. Include washing machine, dishwasher, and outdoor spigots.
Flush hot water fixtures last. Run hot water taps for 10-15 minutes each to clear chlorine from your water heater and hot water lines.
Test water at your kitchen tap with chlorine test strips. Zero detectable chlorine confirms complete flushing.
Wait 24-48 hours after complete flushing before collecting samples for bacterial retesting.
Flushing requires 15-30 minutes of continuous flow at your main fixture plus 5 minutes at each additional tap. Don’t rush this step. Incomplete flushing leaves chlorine residual that kills bacteria in your test sample, creating false negative results that hide ongoing contamination.
Actually, you might need to flush twice if your well has a large static water level or multiple zones. Deep wells or wells with stagnant water pockets take longer to clear completely.
When Should You Retest After Shock Chlorination?
Retest timing determines accurate bacterial test results without interference from residual disinfectant. Test too soon and chlorine residual kills bacteria in your sample. Test too late and new bacteria multiply from remaining contamination sources.
Retest must wait 3-7 days after complete chlorine flushing to avoid false negatives from residual disinfectant. Most labs recommend 3-5 days for standard coliform testing. The chlorine needs time to completely clear your system and any residual amounts need to neutralize.
If bacteria returns in your retest, you have a persistent contamination source. Repeated positive tests after proper shock chlorination indicate the bacteria entry point remains active. This requires well inspection, possible casing repair, or permanent disinfection with UV or continuous chlorination systems.
One round of shock chlorination should eliminate transient bacterial contamination from surface events or maintenance work. Recurring bacteria suggests structural problems with your well, cracked casing, poor seal, or contaminated aquifer connection that needs professional attention.
Frequently Asked Questions
Can you use regular household bleach to shock chlorinate a well?
Yes, but only unscented liquid bleach with 5.25% sodium hypochlorite concentration. Avoid bleach with additives, fragrances, or concentrations above 6% which can damage well components. Read the label carefully, you want pure sodium hypochlorite and water only.
How often should you shock chlorinate your well?
Shock chlorination is an emergency treatment, not routine maintenance. Use it only after positive bacterial tests, contamination events, or well work. Routine shock treatment can damage well components and isn’t recommended by most state health departments.
What happens if shock chlorination doesn’t kill the bacteria?
Repeated positive tests after proper shock chlorination indicate a persistent contamination source. This requires identifying the entry point, well inspection, and potentially permanent disinfection with UV or continuous chlorination systems. The bacteria are entering your well faster than shock treatments can eliminate them.