
Well Water Sample Collection Guide: Avoid the Mistakes That Ruin Your Results

Well water sample collection procedure mistakes turn expensive lab tests into worthless numbers. Most well owners contaminate their samples without knowing it until they get questionable results back.
Key Takeaways:
- Pre-sampling sterilization requires 10 minutes of running water followed by flame or alcohol disinfection of the sampling point
- Sample container type determines which contaminants your lab can accurately detect, metals need acid-preserved bottles, bacteria need sterile containers
- Temperature control during transport keeps samples stable, bacterial samples degrade 50% within 6 hours at room temperature
What Equipment Do You Need Before Collecting Any Well Water Sample?

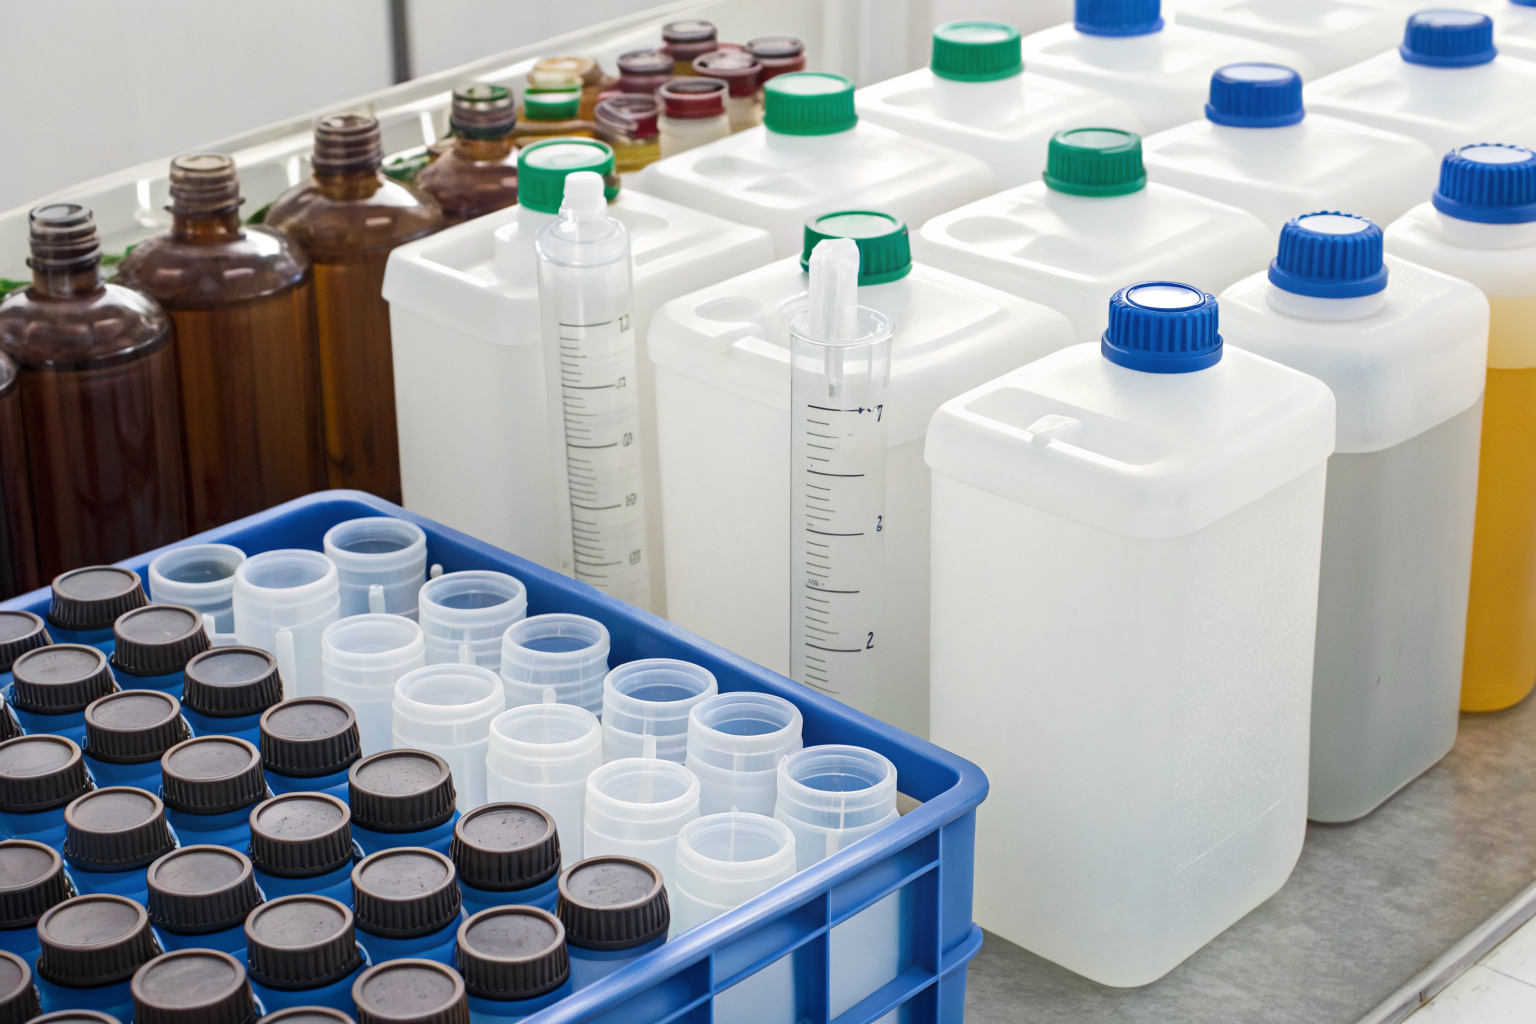
Pre-sampling equipment determines sample accuracy. Get this wrong and your lab results won’t reflect your actual well water testing conditions.
Every well water testing kit should include the right containers for your chosen tests, but many don’t. Check what you’re getting before you order.
| Equipment Type | Bacterial Testing | Chemical/Metals Testing | VOC Testing |
| — | — | — |
| Sample Container | Sterile plastic bottle | Acid-preserved plastic/glass | Specialized VOA vial |
| Preservative | None (sterile only) | Nitric acid pre-added | Zero headspace required |
| Collection Volume | 100-500 mL | 250-1000 mL | Fill completely |
| Sterilization Supplies | Lighter or alcohol wipes | Alcohol wipes sufficient | Alcohol wipes sufficient |
| Cooler/Ice Packs | Required within 2 hours | Recommended | Required |
Flame sterilization requires 30-second direct contact with the sampling point. This kills bacteria that could skew your results.
The biggest equipment mistake? Using the wrong container material. Plastic containers can absorb certain chemicals, giving you false low readings for contaminants like benzene or toluene. Glass containers work better for organic compounds but can break during shipping.
Mail-in testing services usually provide the right equipment, but double-check the container specifications match your test panel. A general chemistry panel needs different containers than a metals-only test.
Where Should You Collect Your Well Water Sample From?

Sampling location affects contaminant detection accuracy. Choose wrong and you’re testing your plumbing instead of your well water.
The ideal sampling point is your kitchen cold water tap. Kitchen taps get used frequently, so they contain less stagnant water. Cold water comes directly from your well without passing through your water heater, where metals can leach from pipes or heating elements.
Samples collected within 10 feet of treatment systems show 15-30% lower contaminant readings. This matters if you’re testing to evaluate whether your treatment system needs maintenance or replacement.
Outdoor spigots work better than bathroom taps for one reason, distance from household plumbing. Bathroom pipes often contain more lead solder or copper corrosion that can contaminate your sample.
Avoid these locations: hot water taps (picks up water heater contaminants), rarely-used faucets (stagnant water), taps after water softeners or filters (you’re testing treated water, not well water), and washing machine connections (detergent residue).
One exception: If you’re specifically testing for lead in your household plumbing, you want a first-draw sample from the tap you drink from most often. But that’s a different test than general well water testing.
How Do You Prepare Your Sampling Point for Sterile Collection?

Sampling point preparation prevents sample contamination. Skip these steps and bacteria from your faucet will show up in your results.
Remove any attachments from the faucet spout. Aerators, filters, and hose connections harbor bacteria that will contaminate your sample. Unscrew them completely.
Run cold water at full flow for 10 minutes. This flush period removes 99% of stagnant pipe contaminants and ensures you’re collecting water from your well, not your pipes.
Clean the external faucet surface with alcohol wipes. Wipe the spout inside and out, removing any mineral deposits or biofilm. Let the alcohol dry completely.
Sterilize the sampling point with flame or alcohol. For flame sterilization, hold a lighter directly against the spout opening for 30 seconds. The metal should get hot enough that you can’t touch it.
Let the faucet cool for 2-3 minutes after flame sterilization. Hot metal can kill bacteria in your sample, giving you false negative results for bacterial contamination.
Run water again for 30 seconds before collecting your sample. This removes any alcohol residue and confirms water flow.
What can go wrong? The most common mistake is not waiting long enough during the initial flush. Water sitting in pipes for days or weeks contains different contaminants than water flowing from your well. Another problem: touching the sterilized spout with your hands or letting it contact non-sterile surfaces.
What Sample Container Goes With Which Test Type?
Container type determines test accuracy. Labs can’t detect what the wrong container destroys or absorbs before analysis.
| Test Type | Container Material | Preservative | Fill Volume | Critical Notes |
|---|---|---|---|---|
| Bacterial (E. coli, coliform) | Sterile plastic | None | 100-500 mL | Never rinse container |
| Heavy metals | Plastic or glass | Nitric acid | 250-1000 mL | pH must be below 2.0 |
| General chemistry | Plastic | None | 500-1000 mL | Can rinse with sample water |
| Volatile organics (VOCs) | Glass vial | Hydrochloric acid | Fill completely | Zero headspace prevents evaporation |
| PFAS | HDPE plastic only | None | 250-500 mL | Glass containers absorb PFAS |
Metals testing requires containers with nitric acid preservative at pH below 2.0. The acid keeps metals dissolved in solution so they don’t stick to container walls. Without proper preservation, you’ll get falsely low readings for iron, lead, copper, and other metals.
Bacterial containers come pre-sterilized and contain sodium thiosulfate to neutralize chlorine. Never rinse these containers, you’ll wash out the preservative and introduce contamination.
VOC containers must be filled completely with zero headspace. Any air bubble lets volatile compounds evaporate, giving you false low readings for gasoline components, solvents, and other organic chemicals.
One thing I should mention: some state-certified laboratories provide containers that work for multiple test types. These combination containers cost more but simplify collection if you’re testing for several contaminant groups.
How Do Timing and Temperature Affect Your Sample Results?

Sample hold time determines result validity. Wait too long and your contaminants degrade, disappear, or multiply beyond detection limits.
Bacterial samples lose viability after 30 hours even with proper refrigeration. E. coli and coliform bacteria die off rapidly once removed from their water environment. Ship bacterial samples the same day you collect them, or overnight at minimum.
Metals samples stay stable for 6 months when properly preserved with acid. The low pH prevents metals from precipitating out of solution or adhering to container walls. Temperature matters less for metals, but refrigeration extends hold times.
VOC samples degrade within 14 days at refrigeration temperatures. Volatile organic compounds evaporate even from sealed containers over time. Some compounds like gasoline additives break down faster, 7 days maximum hold time.
General chemistry parameters have mixed stability. Nitrate stays stable for weeks, but ammonia converts to nitrate within days. pH changes as carbon dioxide escapes from the sample.
Temperature control during transport keeps samples stable. Pack samples in a cooler with ice packs, maintaining 4°C (39°F) temperature. Freezing destroys bacterial samples and can break glass containers.
Weekend shipping creates problems. Samples sitting in delivery trucks over weekends exceed hold times. Ship Monday through Wednesday to ensure lab receipt within hold time limits. Actually, many labs won’t accept samples received on Fridays for this reason.
What Documentation Does Your Lab Need With Every Sample?

Chain of custody documentation ensures legal defensibility. Incomplete forms invalidate results in 23 states for legal proceedings.
Every sample needs these documentation elements:
Complete sample identification information. Include your name, address, well location, and unique sample ID number. The lab uses this to match your sample with test results.
Collection date and time with collector signature. Document exactly when you collected the sample and who collected it. This establishes the chain of custody timeline.
Test panel selection with specific parameters. Don’t just write “water test”, specify bacterial analysis, metals panel, general chemistry, or whatever tests you’re ordering. Different tests cost different amounts.
Contact information for results delivery. Include phone number and email address where you want results sent. Some labs only call with urgent health-risk findings.
Sample preservation and temperature documentation. Note if you kept samples refrigerated and how long between collection and shipping. This helps the lab interpret results.
Any relevant well or treatment system information. Document recent maintenance, power outages, or treatment system changes that might affect results.
State-certified laboratories require more documentation than home test kit companies. Certified labs follow EPA protocols that include strict chain of custody requirements.
What can go wrong? Missing signatures invalidate legal defensibility. Wrong test panel selection means you pay for tests you don’t need while missing contaminants you should test for. Incomplete contact information delays results notification, which matters for health-risk findings.
Frequently Asked Questions
Can I use any clean bottle to collect my well water sample?
No, different tests require specific container types and preservatives. Metals testing needs acid-preserved bottles, bacterial tests need sterile containers, and VOC testing requires specialized vials that prevent chemical evaporation. Using the wrong container gives you inaccurate results.
How long can I wait before sending my well water sample to the lab?
Hold times vary by test type, bacterial samples must reach the lab within 30 hours, metals samples stay stable for 6 months when properly preserved, and VOC samples degrade within 14 days. Your lab should provide specific hold time requirements with your sample containers.
Do I need to collect samples from every faucet in my house?
No, one properly collected sample from your cold water kitchen tap represents your well water quality. Multiple taps only matter if you’re testing for lead from household plumbing or comparing treated vs untreated water.